INSTALLATION GUIDE
OUR KIT INCLUDES EVERYTHING YOU'LL NEED FOR A SUCCESSFUL INSTALLATION EXCEPT A POWER DRILL.
With regard to locating an installation position, it really comes down to the installer’s imagination as to where to put it. Be extremely careful not to drill into fuel tanks, fuel lines, cabling, brake lines, etc. In some instances drilling into the chassis rail itself may not be optimal but apart from that there there are at least 5 to 6 different options under every vehicle where you wish to install it. For instance, it can be installed on the front bar and if you look at our sample installations there is even an installation under the bonnet of an HJ 60.
STEP 1
Identify your preferred bracket mounting position. Remember you want easy access.
STEP 2
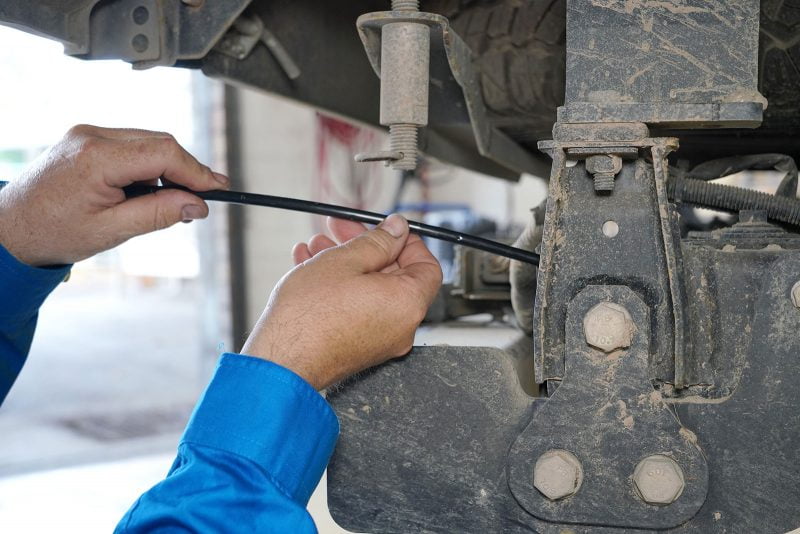
Push tube into chassis rails. Use the shorter tube without a red end.
STEP 3
If a blockage occurs, twist the nylon tube and push it gently forward.
STEP 4

Repeat the installation on the opposite chassis rail using the tube with a red end.
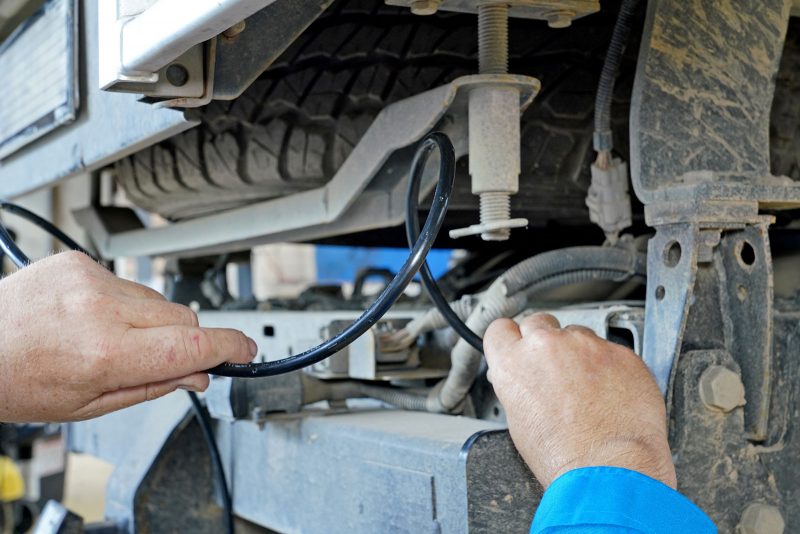
STEP 5

Feed the other end of the longer tube through the crossrail to meet the other tube.
STEP 6

Tie off the tubes in a secure position using the supplied cable ties
STEP 7

If the tube kinks straighten it with pliers or it will stop the water flow.
STEP 8

Use the supplied tube cutters to achieve a clean square cut.
STEP 9

Push the tube into the grey fitting until it bottoms out.
STEP 10

To remove or relocate push down on the grey ring fitting and pull the tube out.
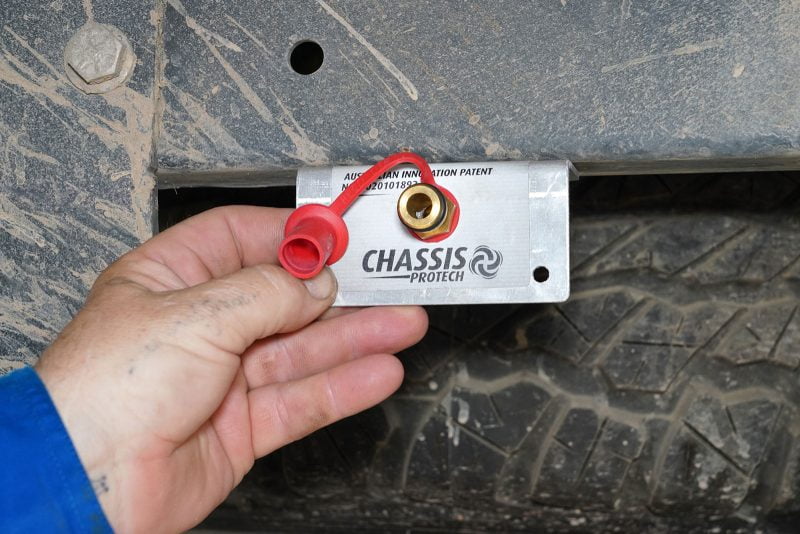
STEP 11

Fix the bracket to the vehicle using the supplied fittings.
STEP 12

Connect the hose and turn the water on at the tap.
THEN WATCH THE MAGIC HAPPEN!

